Module 2 Task 6
Task 6: Activate VMware HCX
You will perform the instructions below from the On-premises VMware Environment
Activate VMware HCX
In this task, we will activate the On-Premises HCX appliance that we just deployed in Task 4.
Step 1: Log in to HCX Appliance Management Interface
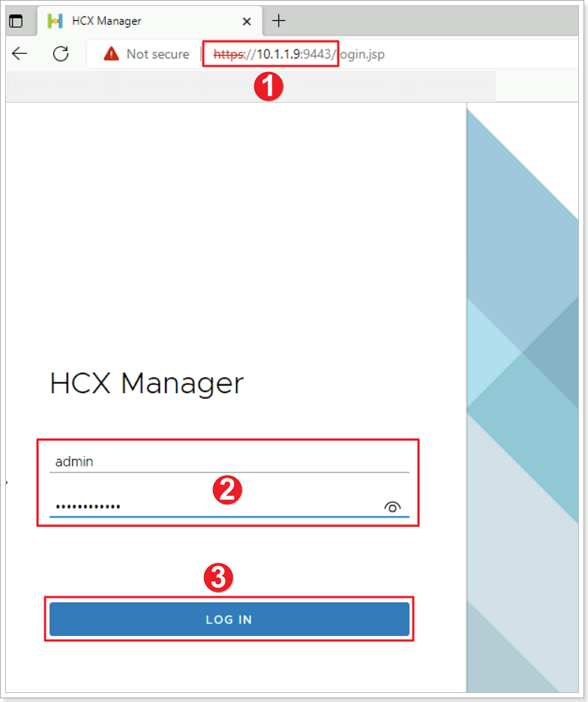
- Browse to the On-Premises HCX Manager IP specified in Task 4 on port 9443 IP and login (Make sure you use https:// in the address bar in the browser).
- Example: https://10.X.Y.9:9443
- Login using the HCX Credentials specified in Task 4.
- Username:
admin - Password:
MSFTavs1!(Specified earlier in Task 4).
- Username:
Step 2: Enter HCX Key
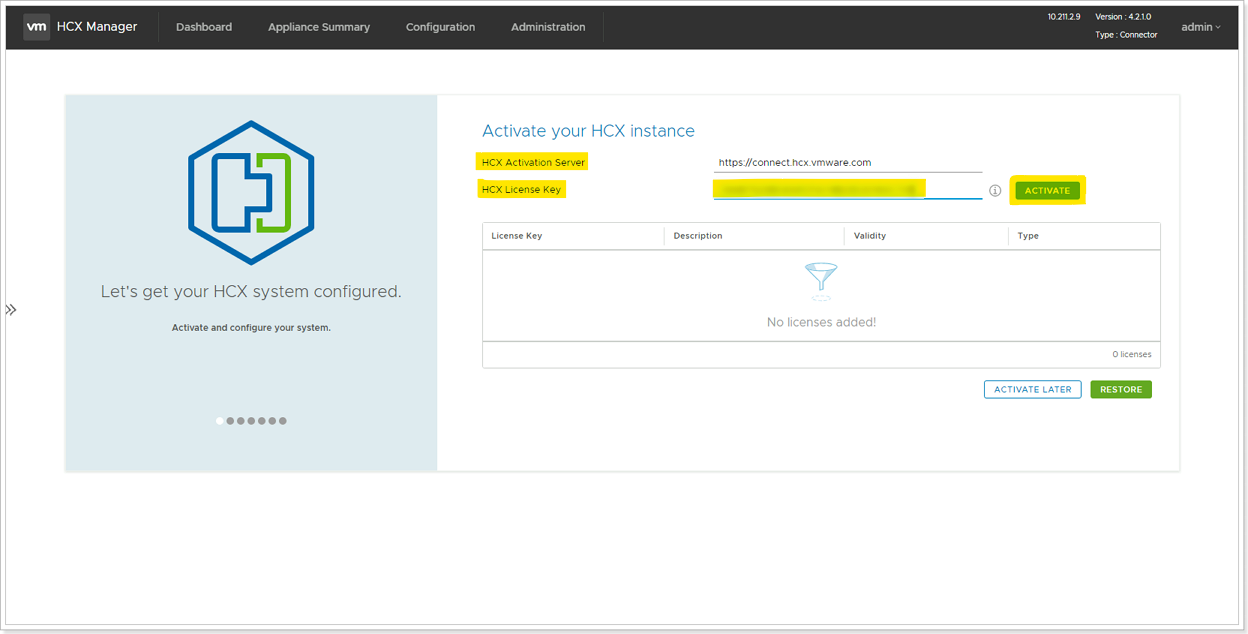
Once logged in, follow the steps below.
- Don’t change the HCX Activation Server field. Please keep as is.
- In HCX License Key field, please enter your key for HCX Activation Key that you obtains from AVS blade in Azure Portal.
- Lastly, select Activate. Please keep in mind that this process can take several minutes.
Step 3: Enter Datacenter Location, System Name
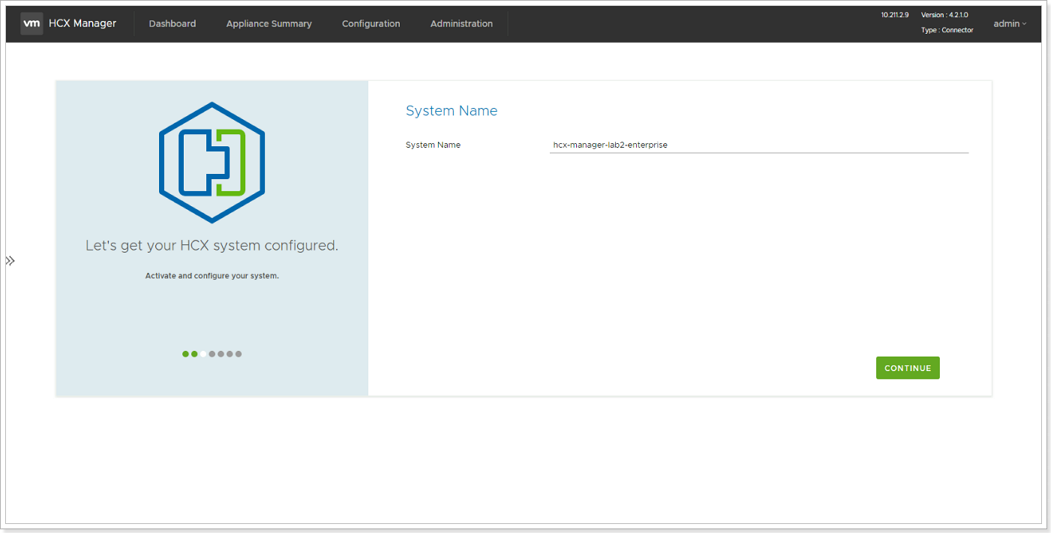
In Datacenter Location, provide the nearest biggest city to your location for installing the VMware HCX Manager On-Premises. Then select Continue. In System Name, modify the name to HCX-OnPrem-X-Y and click Continue.
Note: The city location does not matter in this lab. It’s just a named location for visualization purposes.
Step 4: Continue to complete configuration
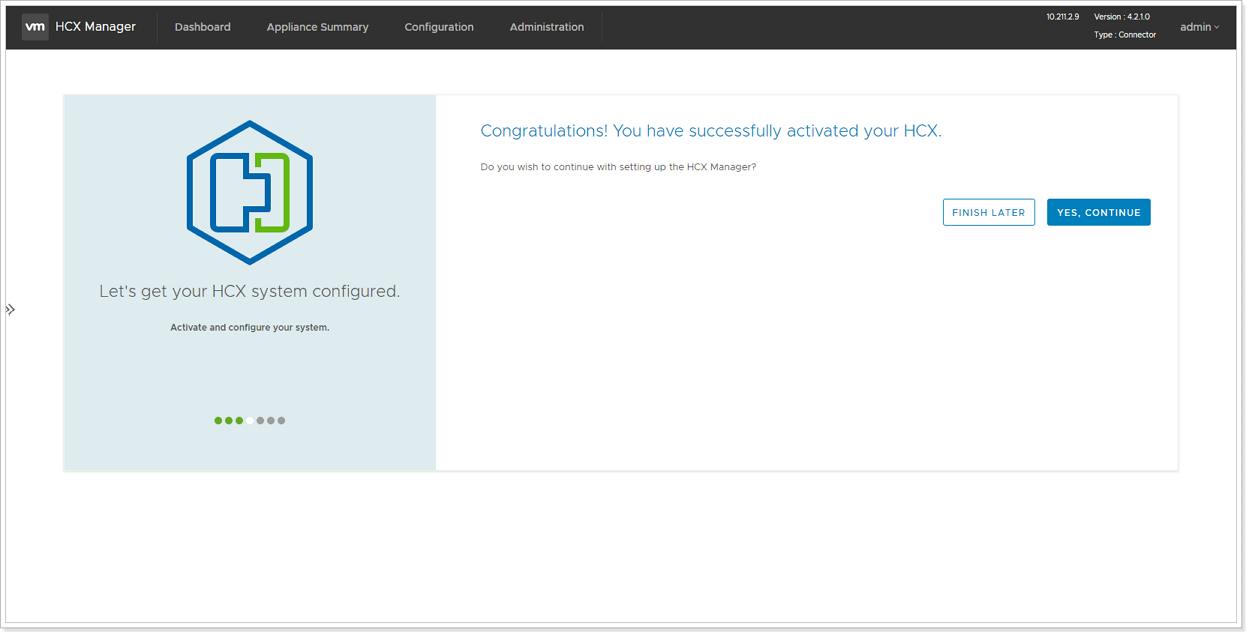
Click “YES, CONTINUE” for completing next task. After a few minutes HCX should be successfully activated.
Feedback
Was this page helpful?
Glad to hear it! Please tell us how we can improve.
Sorry to hear that. Please tell us how we can improve.
Last modified December 17, 2024: update workflow (8881230)