Module 3 Task 2
Task 2: Create a VM in the protected site.
Create a VM in Protected Site
Remember X is your group number, Y is your participant number, Z is the SDDC you’ve been paired with.
In this task you will create a test VM in the protected site.
This task requires a VM template file to be available in the private cloud. A template has been added to the private cloud’s Local Library in Module 1. If you did not complete the corresponding steps in Module 1, please go back to it and add a template to your protected site’s Local Library.
Exercise 1: Create VM fron Content Library
Step 1: Access Content Library
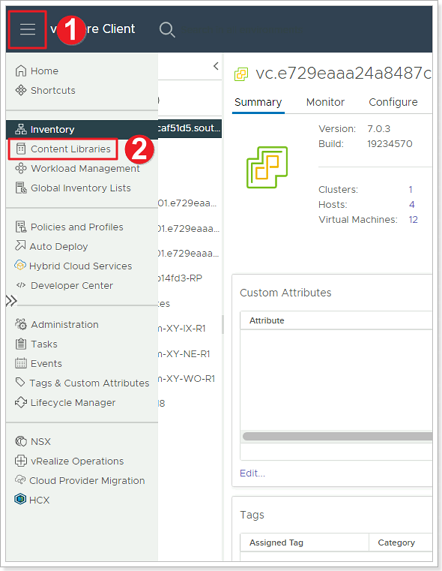
- Log into the AVS vCenter Server for the protected site GPSUS-PARTNERX-SDDC. Click the Menu bar.
- Select Content Libraries.
Step 2: Create VM from Template
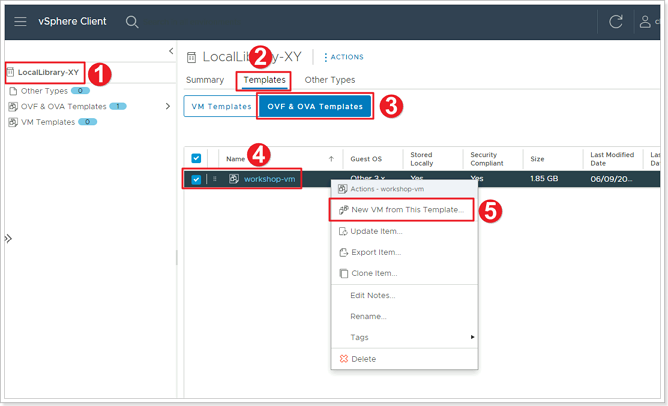
- Select the Content Library you created earlier: LocalLibrary-XY.
- Click Templates.
- Click OVF & OVA Templates.
- Right-click on workshop-vm template which added to this library earlier.
- Select New VM from This Template.
Step 3: Select Name and Folder for your VM
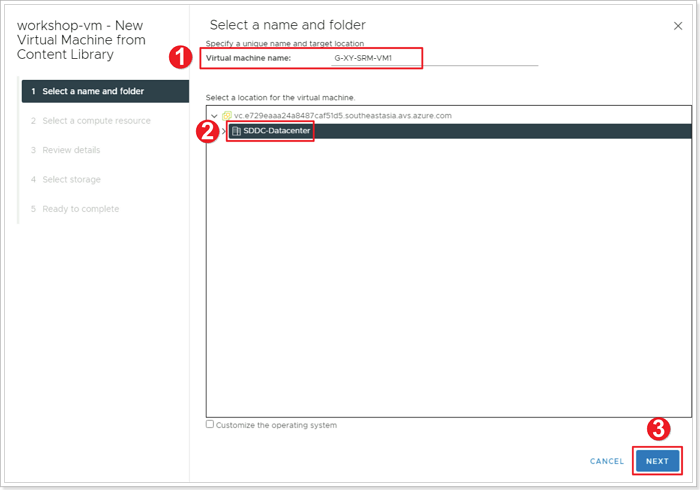
- Set your VM’s name to G-XY-SRM-VM1, where X is your group number and Y is your participant number.
- Select SDDC-Datacenter as the location.
- Click NEXT.
Step 4: Select a compute resource for your VM
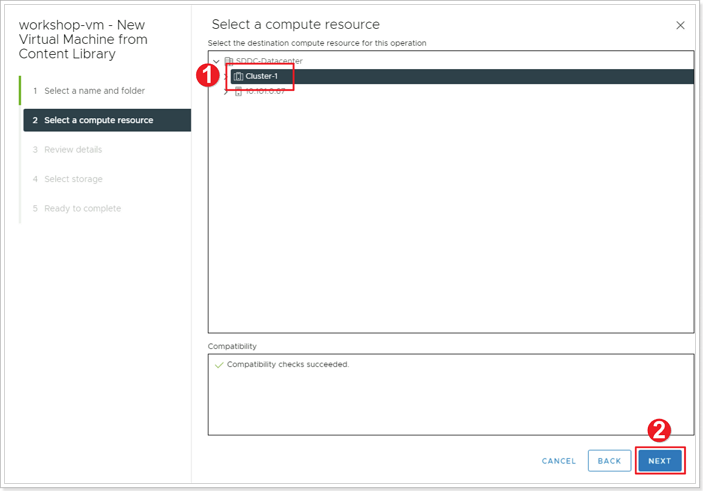
- Select Cluster-1.
- Click NEXT.
Step 5: Select Storage for your VM
Click NEXT on Review details and agree to License agreements.
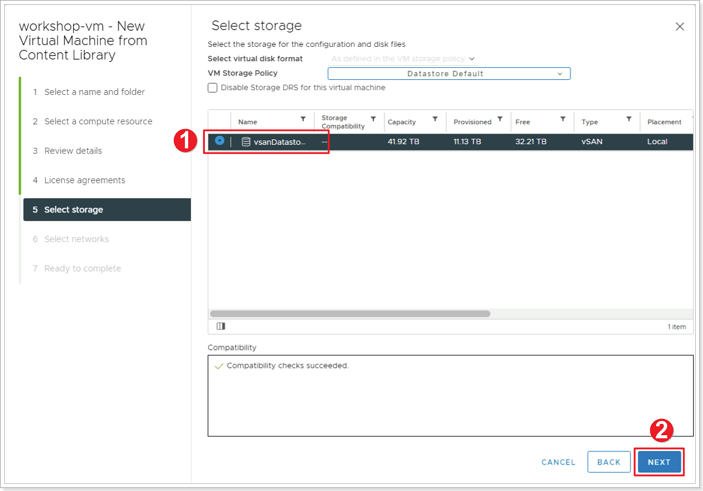
- Select vsanDatastore.
- Click NEXT.
Step 6: Select Network for your VM
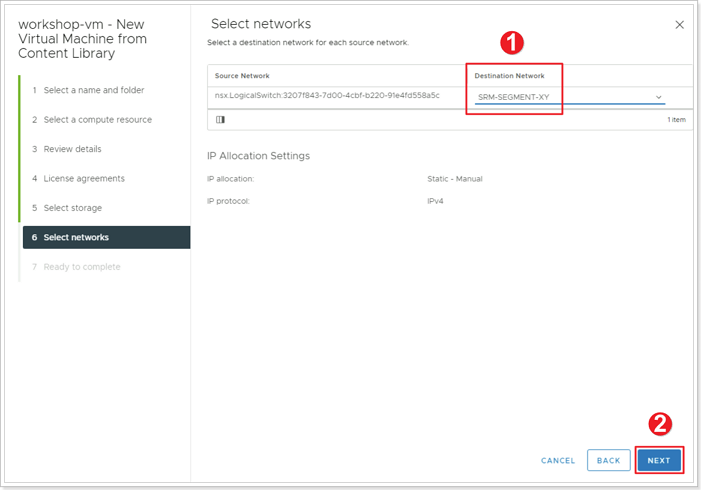
- For Destination Network select your previously created SRM-SEGMENT-XY network.
- Click NEXT.
In the Ready to Complete page, click FINISH.
Step 7: Power-on VM
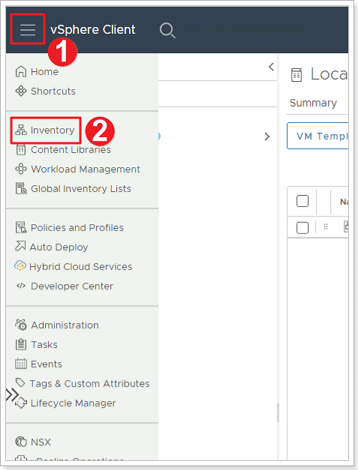
- Click on the Menu Bar.
- Select Inventory.
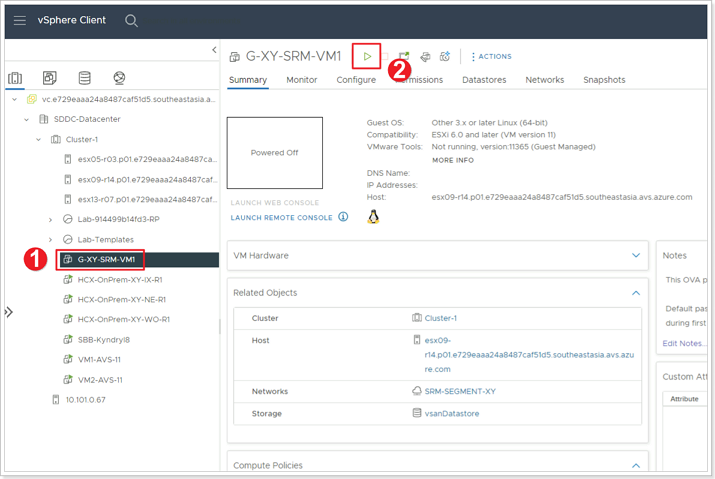
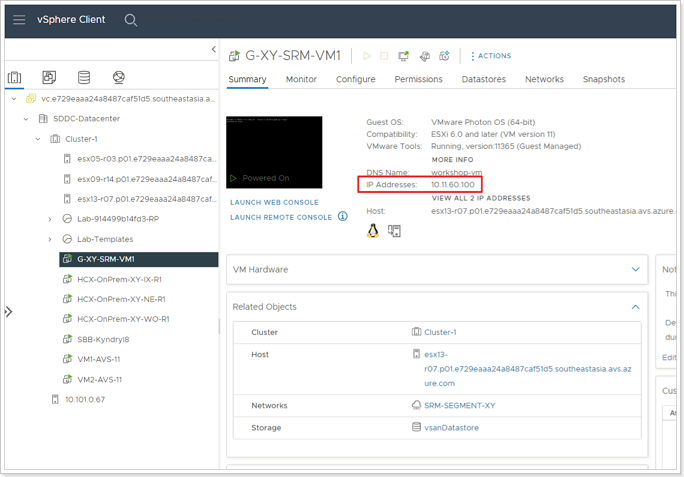
- Select your newly created VM G-XY-SRM-VM1.
- Click the play button to power your VM on.
Step 8: Ensure IP Address has been assigned to VM
Feedback
Was this page helpful?
Glad to hear it! Please tell us how we can improve.
Sorry to hear that. Please tell us how we can improve.
Last modified December 17, 2024: update workflow (8881230)